Wechaty UI能够让开发者为自己的插件编写对应的UI,从而实现交互式界面,这篇文章将要介绍如何使用为插件编写对应的UI。
QuickStart
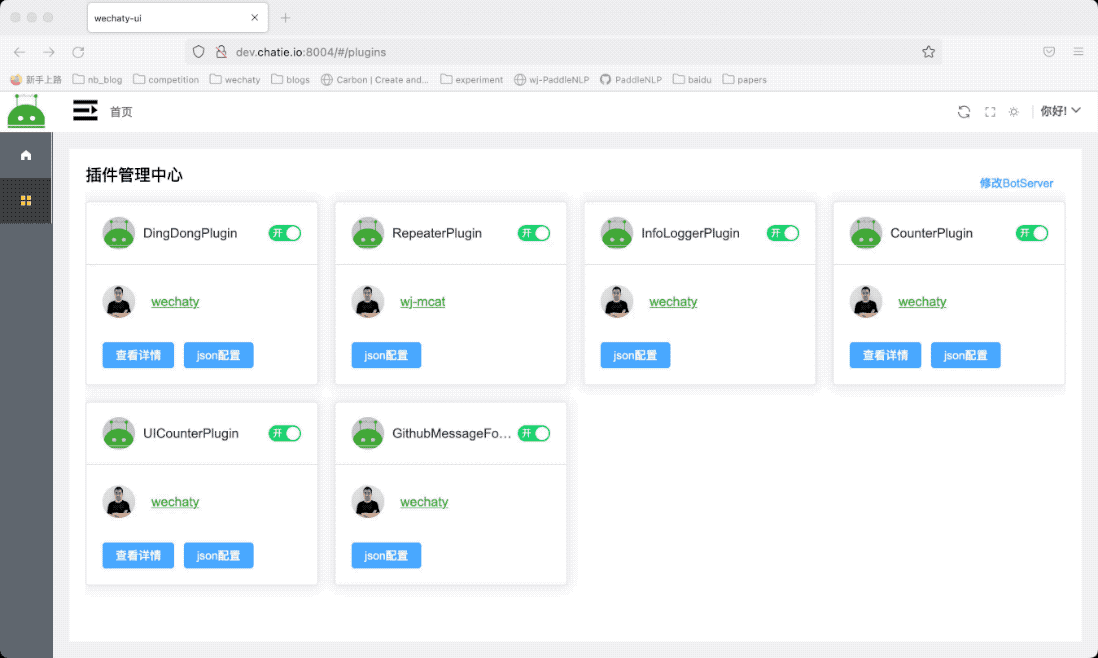
在这里将带着各位开发者实现一个:从server端获取点击数量的前后端交互界面功能。功能展示如下所示:
安装
pip install wechaty>=0.9.dev8注意,最新版本目前还正处于活跃测试中,详细可见wechaty in pypi,大家有任何问题都可以提issue来共建这个wechaty-ui的功能。
编写插件基类
from quart import Quart, render_template_string, jsonify
from wechaty import WechatyPlugin

class CounterPlugin(WechatyPlugin):
    # 需要和blueprint注册的UI入口地址一致
    VIEW_URL = '/api/plugins/counter/view'

    async def blueprint(self, app: Quart) -> None:

        @app.route('/api/plugins/counter/view')
        async def get_counter_view():

            with open("./src/plugins/views/table.jinja2", 'r', encoding='utf-8') as f:
            # with open("./src/plugins/views/vue.html", 'r', encoding='utf-8') as f:
                template = f.read()

            self.setting['count'] += 1

            response = await render_template_string(template, count=self.setting['count'])
            return response
此插件中需要注意如下几个地方:
VIEW_URL: UI 页面加载的入口,此属性必须和blueprint中注册的view路由保持一致。blueprint: 此函数传递一个Quart对象以此注册全局路由来处理不同UI逻辑,此过程与flask的路由注册逻辑保持一致。view入口(get_counter_view函数): 返回的内容需要是浏览器可识别的元素即可,可为:字符串、html代码、jinja2 渲染数据之后的数据(也是字符串)。
添加UI代码
<h2>来自于服务器的数据</h2>
<ul>
{% for item in tables %}
    <li>{{item}}</li>
{% endfor %}
</ul>
启动机器人
通过以上两个步骤即可实现一个:实时统计页面浏览数量的插件。是不是很简单,可是这个实在是太过于简单,接下来我将给大家介绍如何使用vue2编写一个前后端有交互的UI元素。
Vue Counter
在以上的示例代码中,每次都是通过刷新页面从而得到浏览次数的更新,在这个功能中只需要通过按钮即可实现浏览次数的新增,理论上只需要作如下几个地方的调整即可:
- 在插件中添加前后端交互的接口函数:
get_ui_counter_view - 添加vue代码
此示例代码的结果界面如下所示:

Vue Counter Plugin
class UICounterPlugin(WechatyPlugin):
    # 需要和blueprint注册的UI入口地址一致
    VIEW_URL = '/api/plugins/ui_counter/view'

    async def blueprint(self, app: Quart) -> None:

        @app.route('/api/plugins/ui_counter/view')
        async def get_ui_counter_view():

            with open("./src/plugins/views/vue.html", 'r', encoding='utf-8') as f:
                template = f.read()
            return template

        @app.route('/api/plugins/ui_counter/count')
        async def get_ui_count():
            self.setting['count'] += 1
            return jsonify({"data": self.setting['count']})
Vue Counter UI
<body>
  <div id="app">
    <el-button @click="refresh">Click</el-button>
    <span>Count: {{count}}</span>
  </div>
</body>
<script>
  new Vue({
    el: '#app',
    data: function() {
      return {
        count: 0
      }
    },
    mounted() {
      this.refresh()
    },
    methods: {
      refresh() {
        let $this = this;
        axios.get("/api/plugins/ui_counter/count").then(function(e){
          $this.count = e.data.data

          $this.$notify({
            type: "success",
            message: "点击量+1"
          })
        })
      }
    }
  })
</script>以上代码代码展示了如何使用vue来编写最小版本的前后端交互代码,如果各位开发者想要实现更加复杂的前后端交互方式,可直接使用vue-admin-template构建。
文档
WechatyPlugin
如果要编写插件,必须要继承WechatyPlugin,那如果想要实现自定义业务扩展,则可充分结合插件内提供的功能即可,整体功能分为:消息类型功能和Web服务类型功能。
消息类型
顾名思义,每个插件都可以处理来自于机器人的所有消息,如message, friendship等,大家只需要重写对应的on_{event-name}函数即可舍添加对应的消息事件的处理方式。例如:
preset@message_controller.may_disable_message
async def on_message(self, msg: Message) -> None:
    if msg.text() == "ding":
        setting = self.setting

        await msg.say(setting.get('ding', 'dong'))
        message_controller.disable_all_plugins(msg)
Web服务类型
这类功能可添加HTTP API的功能,也可以在HTTP服务当中添加UI的功能模块,比如编写VUE的代码,实现前后端数据交互等。
python-wechaty中使用Quart作为Web服务框架:因为它跟Flask一样足够简单,同时python-wechaty注重易用性,对性能要求不高。
当为插件编写了对应的UI服务时,所有的路由注册服务都需要在blueprint这个方法中添加,例如:
async def blueprint(self, app: Quart) -> None:

    @app.route('/api/plugins/ui_counter/view')
    async def get_ui_counter_view():

        with open("./src/plugins/views/vue.html", 'r', encoding='utf-8') as f:
            template = f.read()
        return template

    @app.route('/api/plugins/ui_counter/count')
    async def get_ui_count():
        self.count += 0
        return jsonify({"data": self.count})
自定义插件元信息
插件中定了标识插件的一些数据字段,提供给Wechaty-UI来识别,字段如下所示:
| 字段 | 说明 | 默认值 |
|---|---|---|
| AUTHOR | 插件作者昵称 | wechaty |
| AUTHOR_LINK | 插件作者自我介绍链接 | https://avatars.githubusercontent.com/u/10242208?v=4 |
| AVATAR | 插件作者头像 | https://github.com/wj-Mcat |
| ICON | 插件Logo | https://wechaty.js.org/img/wechaty-icon.svg |
| VIEW_URL | 插件UI入口 | None |
| UI_DIR | 插件UI资源文件路径 | None |
- UI_DIR:通常为编译打包之后的资源路径,添加这个之后,框架会自动在这个目录下递归寻找对应的js/css/font等文件,然后返回给前端。
总结
Wechaty中提供了Web服务功能,故可以通过一个API返回对应的html代码,至于你的html代码使用vue、react还是angular写的都无所谓,只需要最后编译打包成浏览器可识别的html/css/js等代码即可。
所以,大家可以发挥一下自己的想象,使用python-wechaty即可开发者具备高交互性的插件功能。